Showing posts with label memories. Show all posts

Friday, July 27, 2012

Rainbow Chard- Spreading the love

Chard evokes memories for me, of days spent with our friends in Ithaca, watching their garden grow and enjoying its bounty. My then boyfriend, now husband and I made the 1.5 hour trek from Rochester throughout 1999 until 2008 at least a few times a year to see our friends. As I type those dates, it amazes me that it was 10 years! My husband took the photo above in September of 2006, when Todd and Melissa had over an acre of homegrown veggies and berries. Bright, crisp, slightly bitter chard makes me think of those visits and smile.

Since our arrival in the Netherlands, I've not seen chard for sale- either at the local stores or the outdoor markets. In fact, when I've asked for it people often think I mean rhubarb. Chard is much smaller than rhubarb, which is a lovely veggie in its own right, but rhubarb has poisonous leaves. Don't confuse these two! Chard has green stems, red stems, or even yellow-white stems. The leaves are green and if you click on this link to the wikipedia chard entry you'll discover it is one of the healthiest veggies.

On Sunday, on a bike ride home from Eindhoven everything changed: the Genneper Park farm shop had chard, nestled among the carrots and other leafy greens. I do not even know what I paid for it, I was so rushed to grab it by the handful.
I've tried to explain chard to my Dutch friends, even pointing it out in our community gardens a couple of times (and resisting the urge to hop the fence and swipe some) verifying that indeed it does grow here. The Dutch name doesn't help much: snijbiet (snij = cutting and biet = beet).  Nope, unless you've tasted it, it doesn't seem to matter much (like acorn squash- which I also miss!)

On Sunday, we had chard for dinner, and here is how I made it with thanks to Todd and Melissa for showing me how many years ago:

Prepare a bunch of chard by rinsing thoroughly. Trim any brown bits off leaves or stems. Carefully cut away the leaves, and chop roughly. Don't try to dry the leaves, they should be damp when you cook them, the water adds steam to the cooking.
Chop the stems like you would celery, trying to keep them all about the same size. (Make the thinner portion pieces a bit longer than the thick portion pieces).
Place  the leaves in one bowl and stems in another and begin heating 2 Tbsp olive oil in a large saute pan on medium heat. Reduce to med-low and add the stems, cooking for about 5 minutes (they should still be quite firm).
Add the leaves and cook on low another 5 to 8 minutes more, stirring throughout. When the mixture looks a bit like this:
The chard stems should be slightly tender and the leaves much reduced in size. Add a splash(about a tablespoon, or to taste) of vinegar (any kind of flavored vinegar will do- raspberry is a good choice but if you have access to ume plum vinegar, you are in for a real treat!), stir to combine and serve immediately.

We ate this for dinner, no sides (we'd had a big lunch) and savored every bite. Normally I would serve this as a side dish but since it has been over three years since we'd had it, we had to elevate it to the main event on Sunday. I cooked it the day I bought it, but if you must keep it for a day or two, it can be stored like leafy greens: slightly dampen a paper towel, wrap the chard loosely, and then put in a plastic bag in your veggie drawer of the fridge.

Dutch friends, please, try chard and discover its complex love affair. Demand your local AH carry it, so all of us can enjoy this fabulous healthy vegetable.


Saturday, June 23, 2012

Thank You to my husband

After giving my first class in May (Buttercream Basics- Cake Decorating), I made my husband a "Thanks" cake to let him know how much I appreciated his support. 
One of his favorites is chocolate, so it was a chocolate cake topped with cocoa frosting. I baked a 6 inch cake (15.2 cm) using a modified Whimsical Bakehouse Chocolate Butter Cake recipe.

Chocolate Cake
Ingredients:
125 ml coffee (1/2 cup)
51 g of cocoa powder (1/2 cup)
125 ml low-fat milk (1/2 cup)
156 g all-purpose flour (1 1/2 cups) (zeeuwsebloem)
24 g corn starch (maizena)
1 tsp baking soda
1/4 tsp baking powder
1/2 tsp salt
165 g unsalted butter (1 stick, or 1/2 cup)
262 g sugar (1 1/4 cups)(fijn crystal suiker)
2 eggs
1 tsp vanilla extract

Method:
Heat oven to 350 degrees F or 177 degrees C. Using butter, grease the bottom of a 6" (15.2 cm) round cake pan that is about 3" tall (7.6cm). Cut a parchment circle to fit into the bottom of the pan(it will stick to the butter), and then grease and flour the parchment bottom and also the sides of the pan.

Combine the hot coffee and cocoa powder, whisking until no lumps. Add the milk to the coffee/cocoa and set this aside to cool a bit. In another bowl, combine the flour, corn starch, baking soda, baking powder, and salt. Set aside the dry ingredients. In the bowl of an electric mixer, combine the butter and sugar. Beat well, and then add the eggs, one at a time, beating after each addition. Add the vanilla and mix to combine. Add about 1/3 of the dry ingredient mixture (flour, etc.) and mix to combine.  Add about 1/3 of the wet ingredient mixture (coffee, etc.) and mix to combine. Continue to add the dry ingredients, mixing to combine, alternately with the wet ingredients (coffee, etc.) in about three additions each. You will have about 965g of batter. 
Pour 630g of batter into the prepared pan. Cupcakes can be made with the remaining batter- it makes about 5 cupcakes, fill the cupcakes about 60% of the way to the top.

Bake the cake for about 25-35 minutes. The best way to check the cake to see if it is done is to use both the tooth-pick test and the spring-back test. Insert a wooden tooth-pick into the center of the cake and it should come out clean (with no crumbs). Next, lightly press your finger into the center of the cake and it should spring back a bit (if it just leaves a dent, the cake is not done). (The cupcakes take about 20 minutes to bake.)

Take the cake out of the oven, run a knife around the edge to separate the cake from the pan, and then cool the cake for about 10 minutes in the pan, then turn it out onto a wire rack to cool completely. Once cooled, frost with Cocoa Frosting from the Good Housekeeping Illustrated Book of Desserts:

Cocoa Frosting
300 g powdered sugar (2 2/3 cups)
75 g cocoa (3/4 cup)
87 g unsalted butter (6 Tbsp)
80 ml milk (1/3 cup)
2 Tbsp light corn syrup
1 tsp vanilla
1 tsp salt
Combine all ingredients on low speed until blended. Increase speed to high and whip until smooth and glossy. Add a bit more milk if necessary to achieve your preferred consistency. 

Assembly:
First, I placed a dollop of frosting on the cake board (I often reuse the styrofoam circles that refrigerated pizza at AH is packaged on!) so that the cake won't slide around.

Next, I leveled the top of the cake and then torted the cake (cut it in half horizontally).
The cocoa frosting as a filling makes life simple (and is tasty!)
 I placed the second layer of cake on top and then remembered that I should have used the bottom (the part of the cake that is in contact with the pan) as the very top to make frosting the cake easier (fewer crumbs).
Oh well! I frosted the top and sides of the cake with the cocoa frosting.

I trimmed the edge of the foam to get rid of the unsightly frosting (this was tricky to do, and I have a better method I'll share involving baking paper around the edge of the cake, which is removed after you frost it.) A cake turn-table is essential for me when decorating, otherwise my wrists have to contort in all sorts of weird ways to get the borders even.

And I decorated with the Basic Buttercream icing that tastes amazing and looks divine.

My husband has supported me throughout our time together, and this adventure is no exception. Keeping our Dina occupied with fun things to do while I plan, blog, and bake is not easy. She's always interested in helping her mommy bake and decorate (and 'clean' up the extra frosting.)
I love that Dina is excited about my passion for baking. And I love that my husband is, too. Thank you so much, MJM!
Stay tuned for the next date for my Buttercream Basics Cake Decorating class, on a Sunday afternoon in mid-August. In addition, I'm planning a new class: Cupcakes in Buttercream, which will be a Tuesday night in late-August.
 Everybody loves cupcakes...
 ...especially my Dina!


Wednesday, May 30, 2012

Veggie Restaurant Review: Avalon in Gent, Belgium

Gent is a lovely city in Belgium about 90 minutes drive from our home. Aside from the fabulous churches, museums, and eye-candy architecture lining the river in the old city center, a castle from the middle ages beckons. We lucked out as a antique bike fair was happening the day we visited.
Dina's third miracle nap also happened, unbelievably just as we were about to visit the Gent Altarpiece: The Adoration of the Mystic Lamb. For an hour both Mike and I listened to the audio guide, affording myself a museum luxury not known since Dina was born.

In the Lonely Planet Belgium guide they list three vegetarian restaurants, which is quite a few more than normally listed in a city in Europe. We chose Avalon, situated near the castle.
 The reflection in the restaurant window is of Gravensteen castle, full of torture devices and armor, as at one time it housed a prison.

Avalon has a darling interior, but I recommend strolling right on through to the back garden. Gorgeous wisteria ambles up the side of the building and both sun and shaded tables abound.
We chose a shady spot and I ordered the miso soup.
 Interestingly it contained mushrooms, not something I am used to in miso, but contributing a lovely complexity. Our entrees each had six(!) different side dishes. Since I inhaled that soup, it disappointed me that I was too full to finish my Vegetable pie, or Groetentaart.
 The creamy potato-looking side at 6:00 on my plate is actually rutabaga with the most amazing dressing on it. I begged to know what was in it and the waitress told me it was a tartar sauce with rosemary and avocado. We both agreed it was brilliant. Mike got a tempeh Rueben sandwich, and the same side dishes as me.
The tempeh Rueben sandwich, pictured above, and the tempeh close-up.

The Avalon menu in English on the left and Dutch on the right.
We would definitely go back to Avalon, however the other two vegetarian restaurants await, and with Avalon definitely living up to the Lonely Planet recommendation, I'd be psyched to try the others, too.
The only improvement I'd recommend to Avalon was a rather entertaining translation issue in the drink section of the menu:
"We have a big assortment of teas and infusions. You can pick your bag of tea out of the boxes near the toilet."
Advice for all restaurants: no matter how tempting, never write the word, "toilet" on a menu.
Our seat in the shade pictured above. I also enjoyed that the napkins and menus were fun fluorescent shades.

We also found a Starbucks in Gent, however the line was almost out the door, and we were in a bit of a hurry to take full advantage of stroller-sleeping Dina.
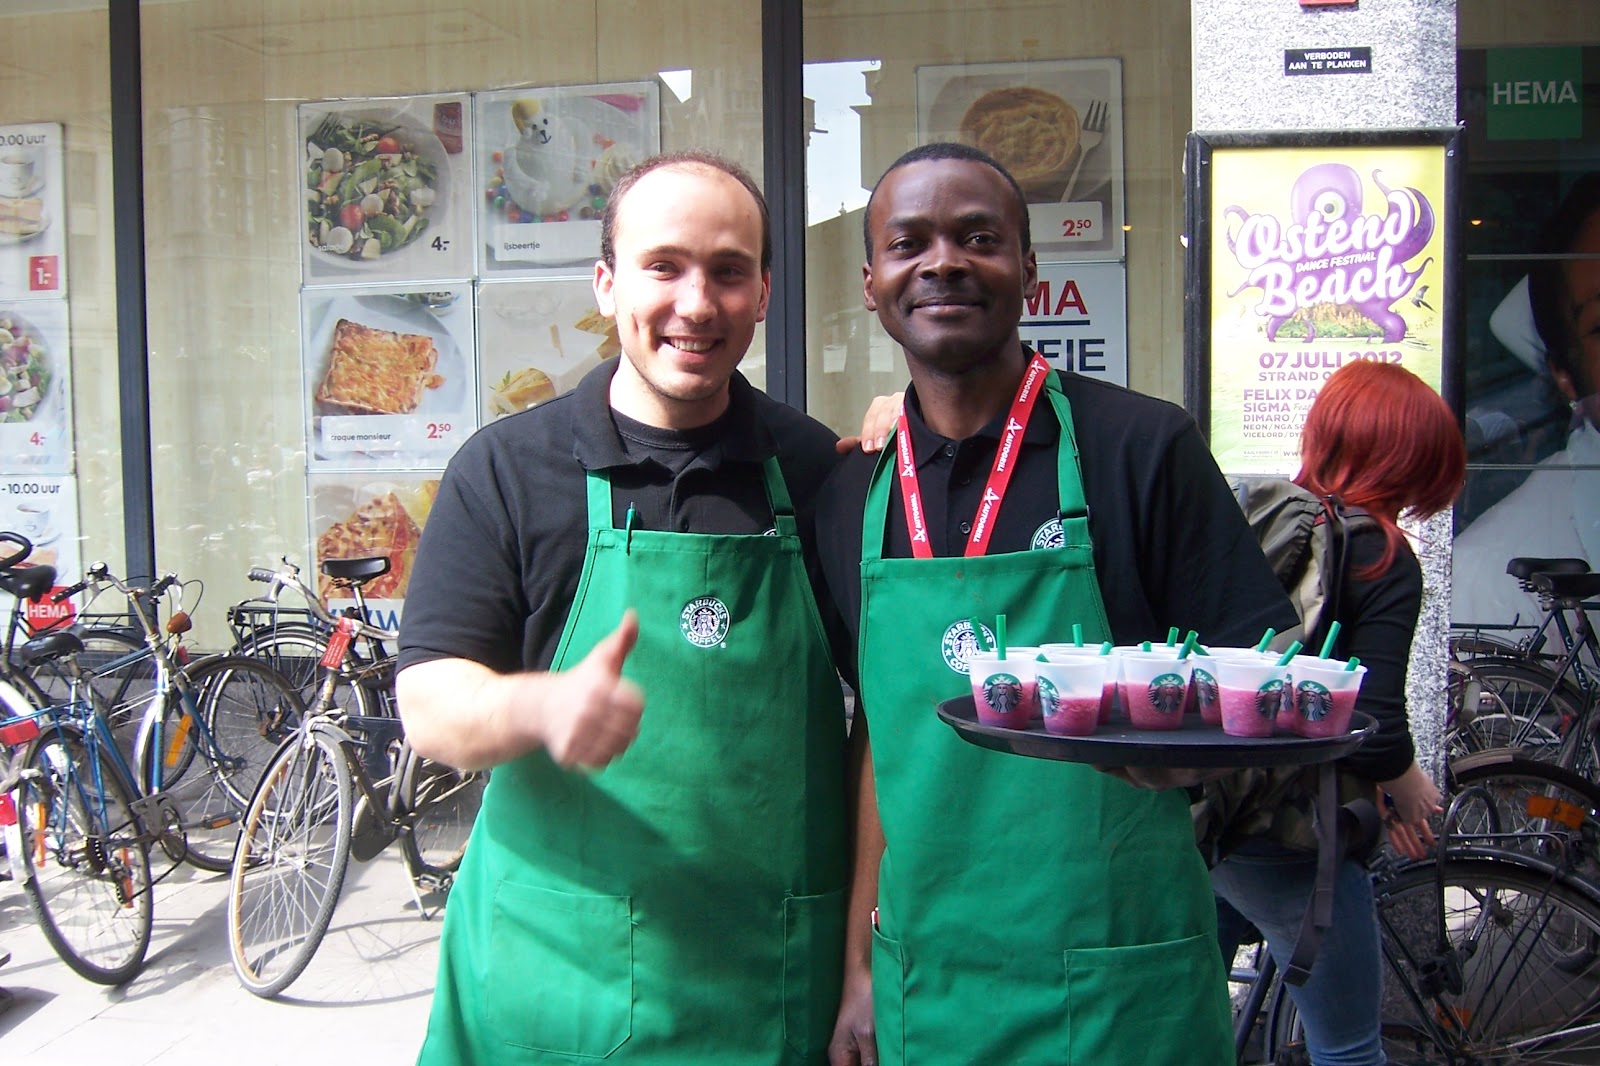
 Starbucks worked their magic anyway, however, with free samples of their strawberry frappuccino along the side of the building, much to my delight.
I wanted to hug these guys.
Gent (or Ghent in Dutch). Gorgeous, timeless, entertaining, and full of great vegetarian food. It was so appropriate that along the river walk I spotted these two flags, waving in the summer breeze:
My home and where I'm presently calling 'home'.

Friday, May 11, 2012

Best Ever Chocolate Chip Cookies


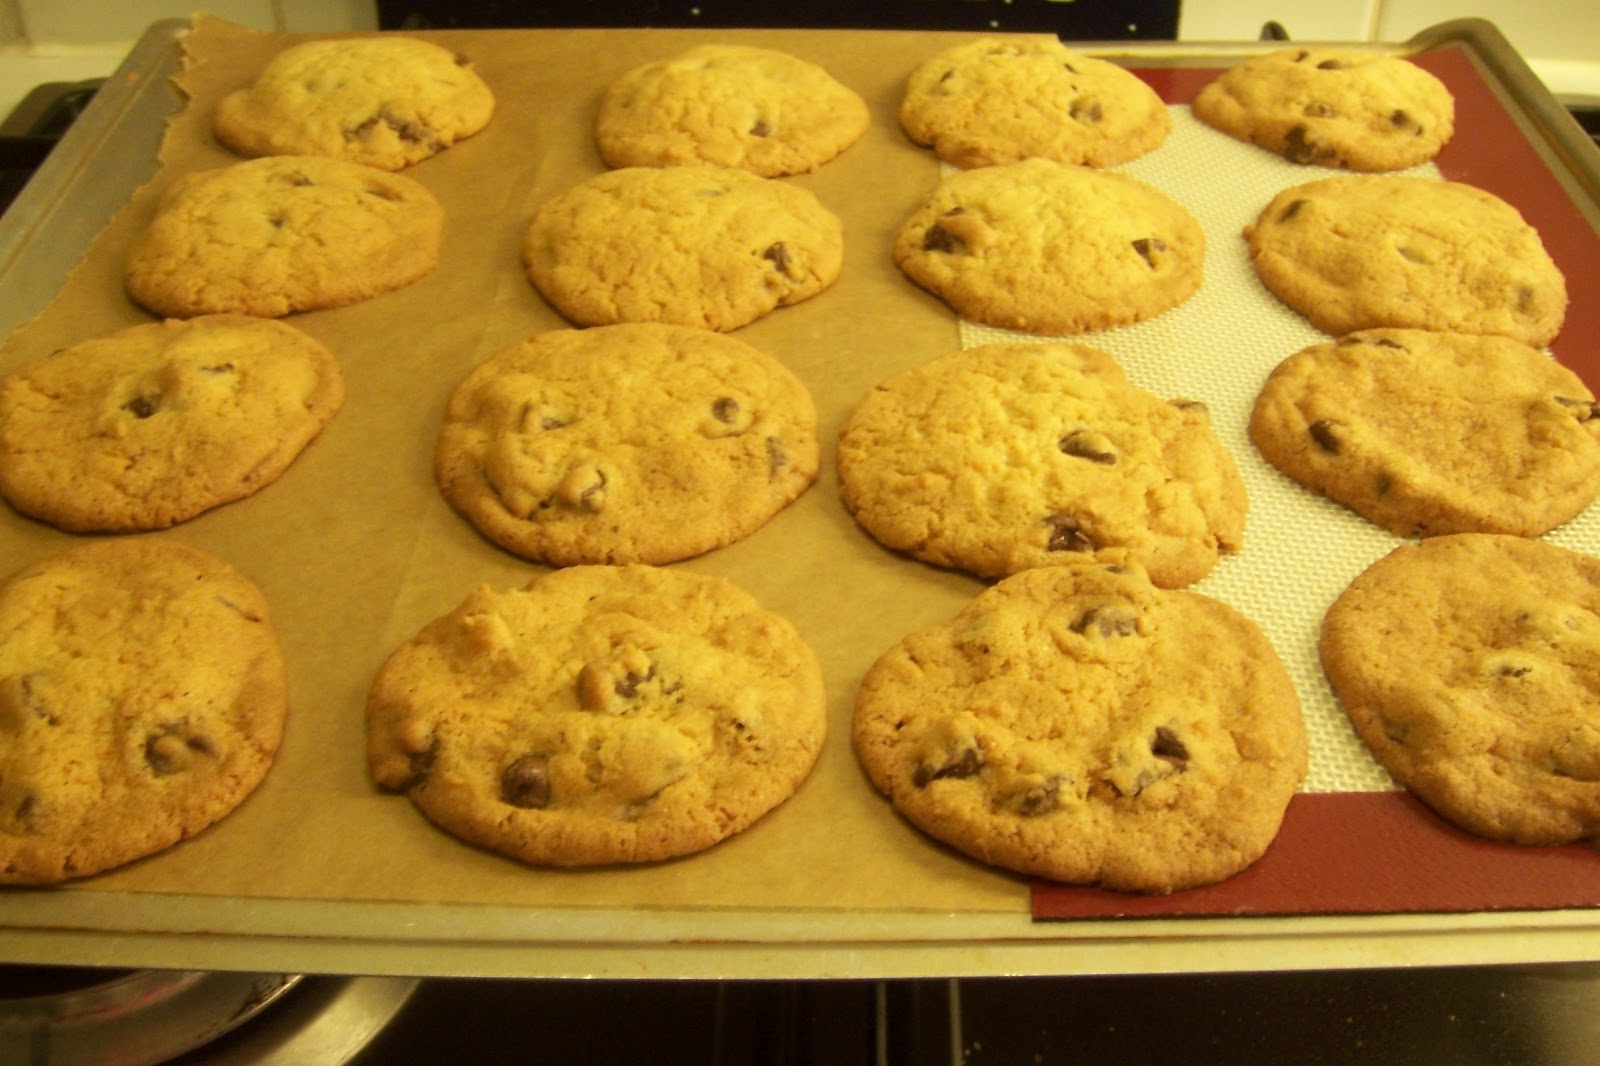
 A perfect chocolate chip cookie is irresistible to me. My Uncle Richard used to receive a couple of dozen from my mom every year at Christmas time. He would eat one right after another, until they were gone, and then lament that his belly ached. But, I understand completely. The slightly crisp exterior, soft and chewy interior, bits of chocolate of just the right size and shape... perfection.

Nestle Toll House Morsels has a recipe on their bag that I've used (substituting crisco for the butter) for many years. My grandmother was the first to make them, and then my mom, and now me. While I love this version, I've been experimenting a bit to bring some butter back into this cookie. Crisco, while perfect for some things, has no flavor. Butter, which makes cookies spread more in the oven making them thinner and therefore crunchy, has lots of flavor but (in this case) suboptimal properties. My Dutch friends might beg to differ- I gave some cookies to Marieke and she explained that cookies that are soft and chewy are actually considered 'gone bad' here, because they are stale from exposure to air. Packaged cookies are always crisp, so if they are soft, they've been left out in the Dutch humidity. To me, a crisp cookie means a packaged cookie, not homemade, and so less-good. I guess that's why I never got too interested in biscotti, because it is so crisp, even when fresh out of the oven.

I love the simple, natural ingredients in Nestle's Toll House morsels. The flavor of these chocolate chips brings me back to my childhood, at Christmas time. Other chocolate chips work just as well, and may even seem to have a deeper, darker chocolate flavor (which I appreciate!), however Nestle's evokes the memories for me, and so I bring back several bags when I travel to the US.

If you use chopped chocolate instead of (tempered) chips, keep in mind that the chocolate will melt on its edges a bit, for a more gooey experience (also delightful).

Best Ever Chocolate Chip Cookies
77 g butter @ room temperature (1/3 cup)
120 g crisco- vegetable shortening (2/3 cup)
157 g granulated sugar (Fijn Crystal suiker) (3/4 cup)
187 g packed brown sugar (light bastard suiker) (3/4 cup)
2 eggs
2 tsp milk
1 tsp vanilla
1 tsp salt
1/4 tsp baking powder
1 tsp baking soda
270 g all-purpose flour/ zeuwse bloem(2 and 1/4 cups but please use a scale for the flour)
250 g chocolate chips (9 oz)

Pre-heat conventional oven to 375 degrees F (180 degrees C)
Cream the butter and shortening until light and fluffy. Add the granulated sugar and brown sugar and beat until well blended. One at a time, add the eggs, scraping down the bowl after each addition. Add the milk and vanilla and mix just until combined. In a separate bowl, sift the salt, baking powder, baking soda and flour. Add flour mixture to butter/sugar mix a bit at a time, mixing just until combined each time, and scraping the bowl often. Once flour is almost completely incorporated, add the chocolate chips, mix just until distributed. Drop by rounded spoon onto cookie sheets (I use the two spoon method, scoop with one and push the dough out of the spoon with another spoon) and bake for 8 to 10 minutes. If you like your cookies very soft, take them out just before you think they are done. If you like a bit of crisp on the outside, leave them until they just begin to brown. Rotate your cookie sheet half-way through baking if your oven is uneven (most are).
Portioning cookie dough is always a challenge. Getting the cookies all about the same size can be tricky. The method I use harks back to my childhood. In order to split the last piece of cake or cookie, my friend and I would use the slice and choose method. One person would be in charge of slicing the cookie in half, and the other person would select which half she wanted.  The slicer has a strong incentive to make a perfect 50/50 cut, so it doesn't matter which half the chooser selects.  Needless to say, I always wanted to be the chooser. But what does this have to do with cookie portioning? Simply put: pretend you are the slicer with each ball of dough. Consider that after they are cooked, the cookie you get to eat will be the smallest one on the tray, or the one with the fewest chocolate chips. You can bet I make them all the same!!
If you are excited about keeping your cookies soft and fresh you can put small pieces of bread in the tin with the cookies. Don't allow the bread to touch the cookies directly, but rather put a piece of foil or parchment paper (baking paper) in between. Cover tightly and the cookies will stay softer than without bread. The rectangular tin above has bits of bread on the edges, on top of folded-over foil. We did taste tests and Mike preferred the ones without the bread keeping them extra soft (his comment was they did not taste any fresher, and he likes a bit of crunch on the outside), but I liked both versions.